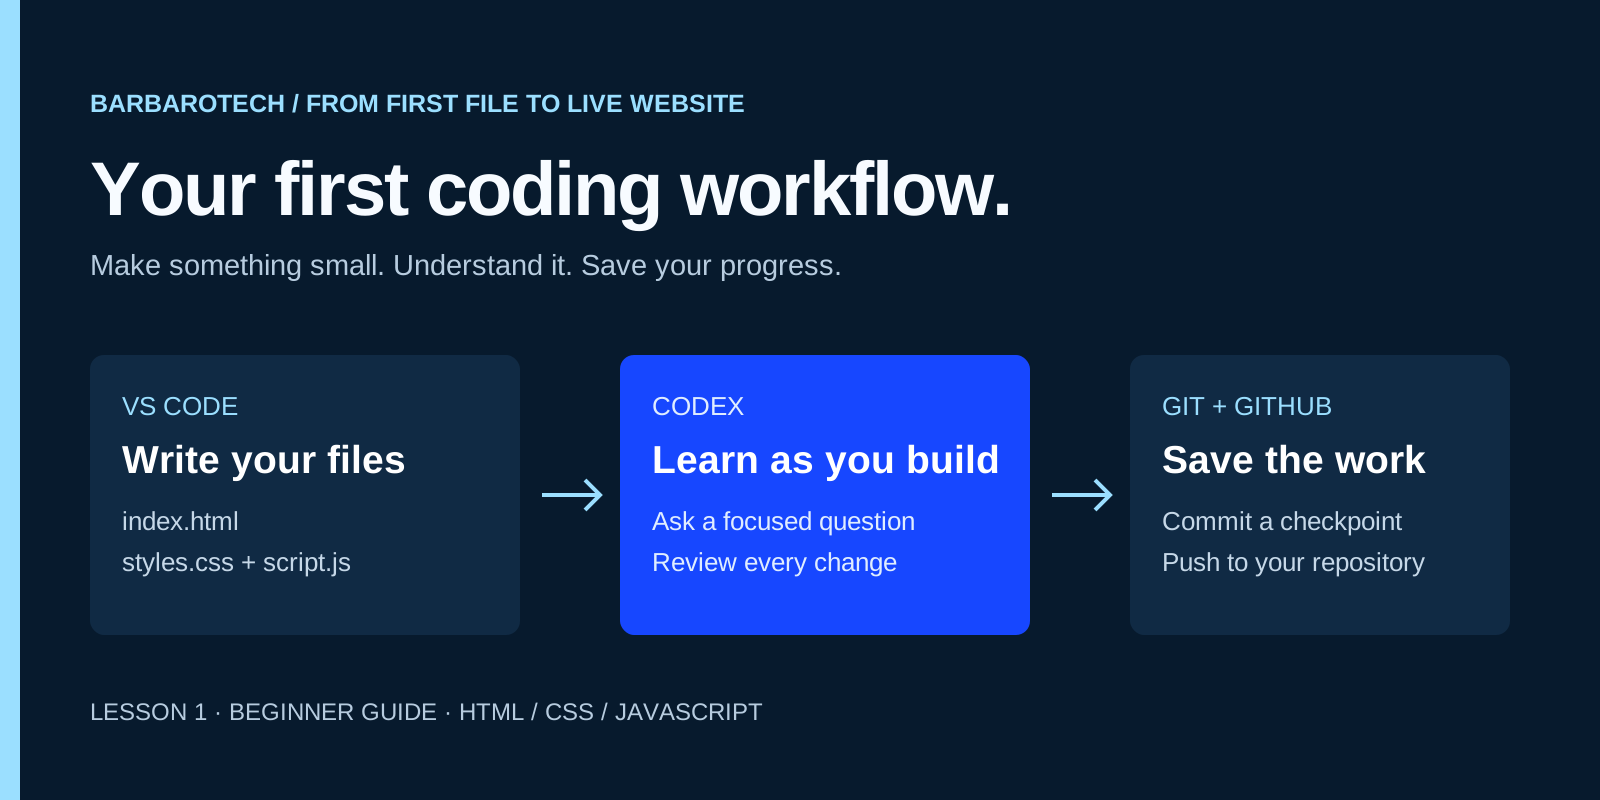
You do not need to understand an entire framework to start coding. In this first lesson, you will make a small website with HTML, CSS, and JavaScript, run it on your computer, and save it to GitHub. Codex will help you understand and improve the code. The next lesson takes this same project online with Railway.
Beginner · no coding experience required
What you will learn
- Run a real website on your own computer.
- Use Codex to explain code and make a focused change.
- Create a Git commit and publish a repository to GitHub.
Before you start
- A Windows, macOS, or Linux computer where you can install development tools.
- A GitHub account and a ChatGPT account with access to Codex.
- A new practice folder, separate from any existing project.
Instructions checked against the linked official documentation on October 30, 2026. Interface labels and account access can change.
1. Know what each tool does.
VS Code is the editor where you open and change your files. Codex is OpenAI's coding assistant inside that editor. Git records versions of your files on your computer. GitHub holds a remote copy of your Git repository. Node.js runs the small web server that lets you view this exercise in a browser.
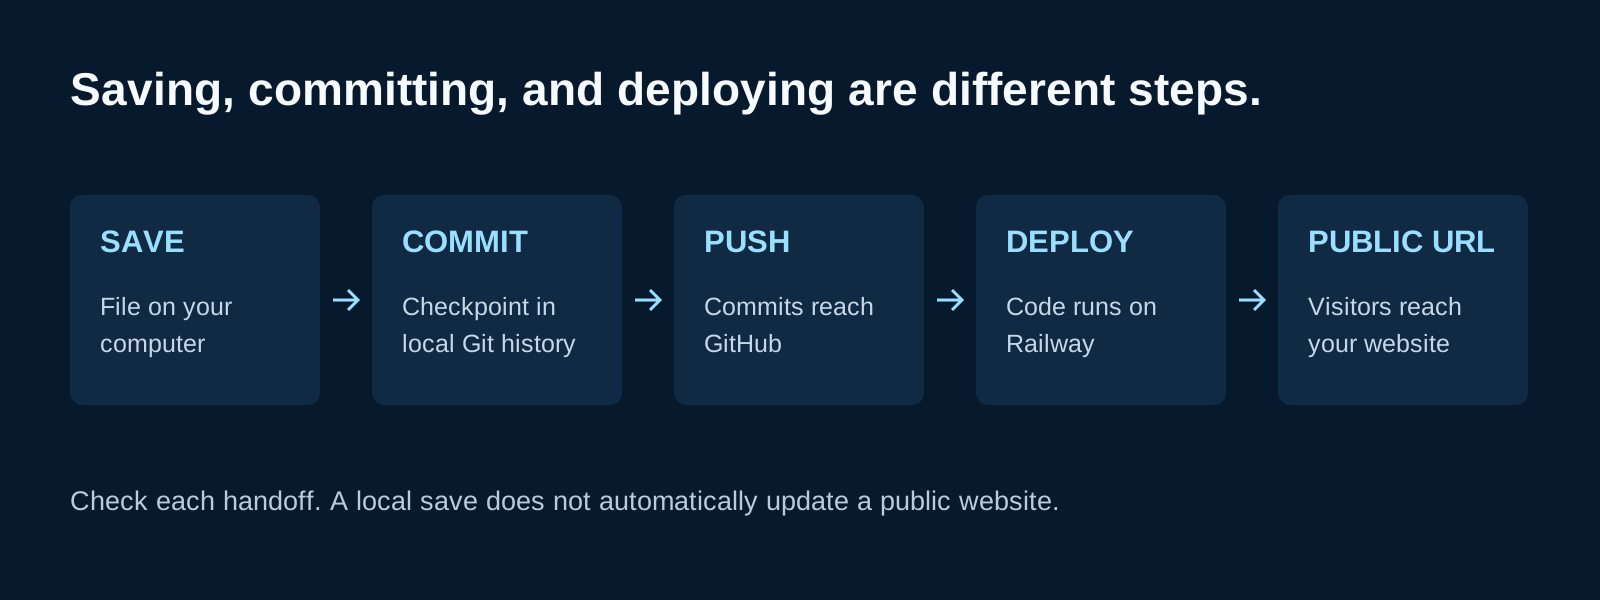
These are different jobs. Saving a file does not make a Git commit. Making a commit does not upload it. Pushing a commit to GitHub does not, by itself, give your website a public address. You will practice each step separately so you can tell where your work actually lives.
2. Install VS Code, Git, and Node.js.
Use the official download links below and choose installers for your operating system. Install Visual Studio Code, Git, and Node.js 24 LTS. This example deliberately uses the supported 24.x line; the Node download page may recommend a newer LTS by default, so select 24.x for the same runtime used here. npm comes with the usual Node installer.
On Windows, you can use the regular desktop installations for this exercise. If you already work in WSL, install Git and Node inside that Linux environment and open the project there. Avoid running half the commands in Windows and half inside WSL. On macOS, if you want to use the optional code command later, install its shell command through VS Code's Command Palette. You can always use File > Open Folder instead.
After installation, close and reopen VS Code. Select Terminal > New Terminal and enter these commands one at a time. The terminal is where you type commands; it is not a file you save in the editor.
git --version
node --version
npm --versionEach command prints a version rather than a command-not-found error. node --version should start with v24. Exact patch numbers can differ.
3. Create one project folder.
Create a folder named first-website in a place you can find again. In VS Code, use File > Open Folder and select it. If Workspace Trust asks about this folder, approve the new folder you created yourself. Open a new terminal after opening the folder so commands run in the right location.
The Explorer panel is your file list. Use its New File control to create files directly in first-website, not in a second folder nested inside it. A file named index.html.txt is different from index.html; keep the extensions shown in the instructions. Save each file after pasting its example.
The Explorer shows first-website as the project root. You have not uploaded or deployed anything yet.
4. Install the official Codex extension.
Open VS Code's Extensions view and search for Codex, or use the official marketplace link below. Check that the publisher is OpenAI and the extension identifier is openai.chatgpt. Install it, open the Codex icon, and complete the ChatGPT sign-in flow. GitHub sign-in is separate; it does not sign you in to Codex.
If the icon is missing, open the Command Palette with Ctrl+Shift+P on Windows or Linux, or Cmd+Shift+P on macOS, and run Codex: Open Codex Sidebar. In a managed workplace, access can depend on the workspace's permissions. Follow the official authentication guide if your account cannot sign in. This lesson uses ChatGPT sign-in; it does not require adding an API key to your website.
Start with the explanation prompt below. When Codex later proposes edits or commands, read what it plans to do. Keep the task inside this practice folder and review the resulting files. You do not need to grant unrestricted access to learn from a small example.
I am learning to code in this first-website folder. Explain what HTML, CSS, JavaScript, Git, and Node.js will do in a small website. Do not create files, run commands, install dependencies, or change settings yet. Keep the explanation beginner-friendly.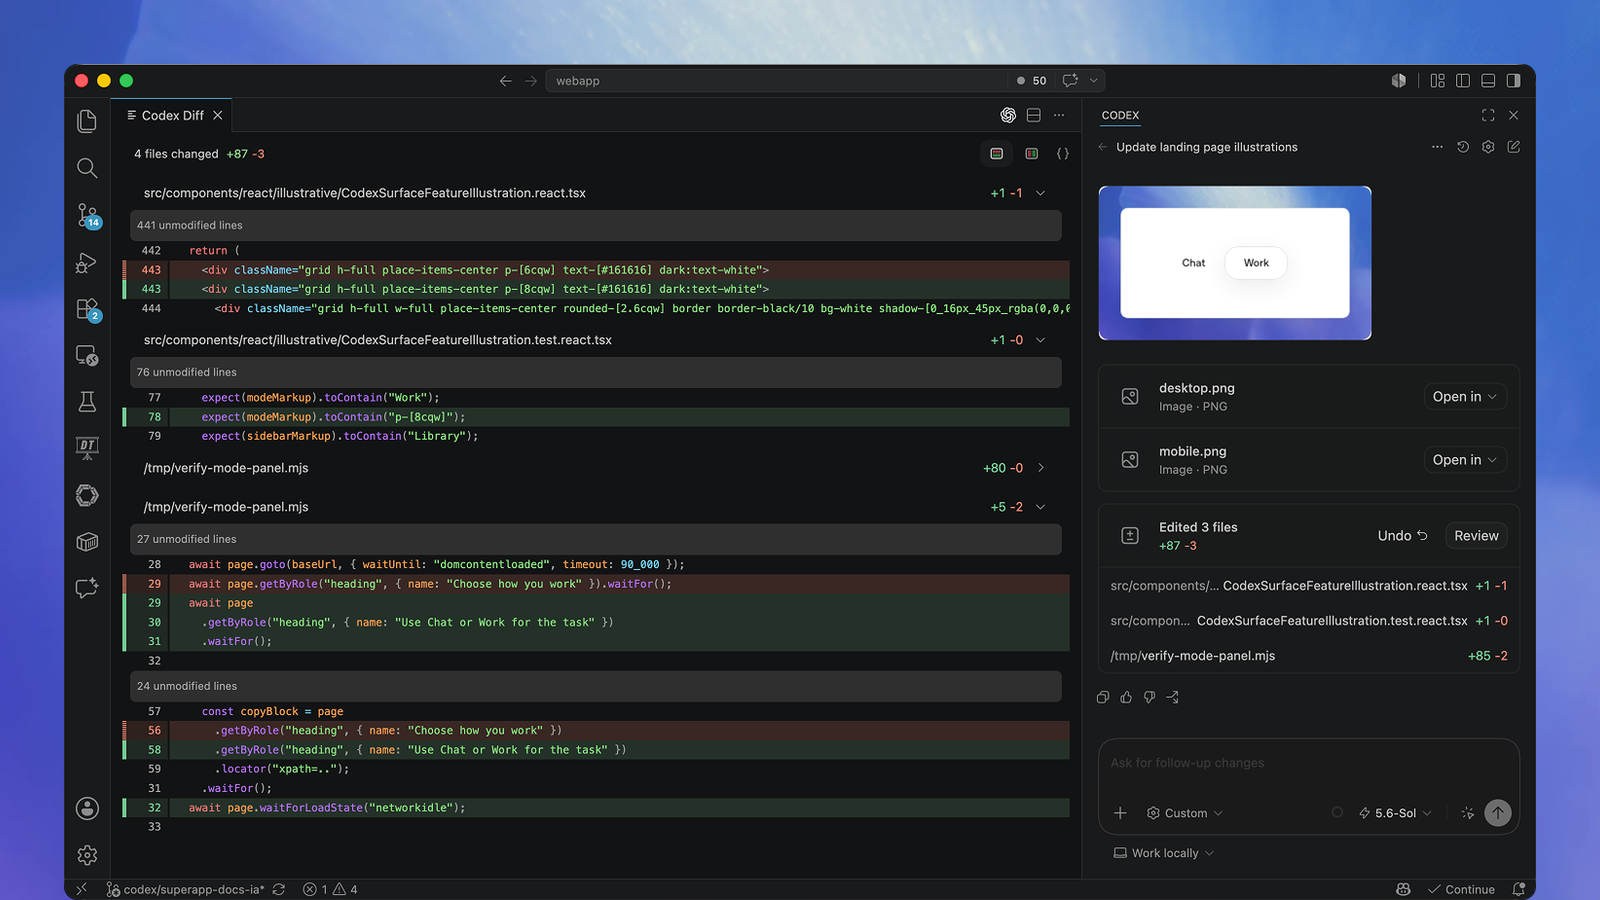
You can open the Codex sidebar and receive an explanation in the context of your practice folder.
5. Write the page structure.
Create index.html and paste the complete example below. HTML describes the page's content and structure: the heading, explanation, button, and message area. The head links to the other two browser files you will create next.
The viewport line helps the layout work on a phone. The button is a real button, so it can be used from a keyboard. The empty status paragraph gives JavaScript a place to display a message without replacing the whole page.
<!doctype html>
<html lang="en">
  <head>
    <meta charset="UTF-8" />
    <meta name="viewport" content="width=device-width, initial-scale=1" />
    <title>My first website</title>
    <link rel="icon" href="data:," />
    <link rel="stylesheet" href="/styles.css" />
    <script src="/script.js" defer></script>
  </head>
  <body>
    <main>
      <p class="eyebrow">Built by me</p>
      <h1>My first website is taking shape.</h1>
      <p>I am learning to build, save, and publish my own work.</p>
      <button id="hello-button" type="button">Say hello</button>
      <p id="message" role="status"></p>
    </main>
  </body>
</html>
6. Add the appearance and one interaction.
Create styles.css and script.js next to index.html. CSS controls the colors, spacing, and layout. The clamp value gives the heading a useful size range instead of making one desktop font size fit every screen.
JavaScript finds the button and message by their IDs. When the button is clicked, it changes the message's text. The IDs in the script must match the IDs in the HTML, and the filenames must match the stylesheet and script links. Copy the two examples into separate files.
* { box-sizing: border-box; }
body {
  margin: 0;
  min-height: 100vh;
  display: grid;
  place-items: center;
  padding: 2rem;
  background: #071a2d;
  color: #f7fbff;
  font-family: system-ui, sans-serif;
}
main { width: min(100%, 48rem); }
.eyebrow { color: #9bdfff; font-weight: 600; }
h1 { font-size: clamp(2.4rem, 7vw, 5rem); line-height: 1.05; }
p { max-width: 55ch; font-size: 1.1rem; line-height: 1.7; }
button {
  min-height: 48px;
  padding: 0.8rem 1.2rem;
  border: 0;
  border-radius: 8px;
  background: #9bdfff;
  color: #071a2d;
  font: inherit;
  font-weight: 700;
  cursor: pointer;
}
button:focus-visible { outline: 3px solid white; outline-offset: 4px; }
#message { min-height: 2rem; }const button = document.querySelector("#hello-button");
const message = document.querySelector("#message");
button.addEventListener("click", () => {
message.textContent = "Hello! You made this page work.";
});7. Run the site on your computer.
Create package.json and server.mjs using the complete files below. package.json names the project, selects the Node runtime, and defines npm start. The small server reads the three website files and sends them to the browser. Its explicit file list keeps unrelated files, including future environment files, out of the public website.
The server listens on PORT when a host supplies it, or 3000 on your computer. Keep that behavior: it is what makes this same project usable in the Railway lesson. This exercise has no third-party packages, so there is nothing to install with npm install.
Save all five files, enter npm start in the terminal, and leave that terminal running. Open http://localhost:3000 in your browser. localhost means your own computer. Stop the server with Ctrl+C when you are finished, and run npm start again whenever you need it.
{
  "name": "first-website",
  "version": "1.0.0",
  "private": true,
  "type": "module",
  "engines": { "node": "24.x" },
  "scripts": {
    "start": "node server.mjs"
  }
}import { createServer } from "node:http";
import { readFile } from "node:fs/promises";
const files = new Map([
["/", ["index.html", "text/html; charset=utf-8"]],
["/index.html", ["index.html", "text/html; charset=utf-8"]],
["/styles.css", ["styles.css", "text/css; charset=utf-8"]],
["/script.js", ["script.js", "text/javascript; charset=utf-8"]],
]);
const port = Number(process.env.PORT || 3000);
createServer(async (request, response) => {
if (request.method !== "GET" && request.method !== "HEAD") {
response.writeHead(405, { Allow: "GET, HEAD" });
response.end("Method not allowed");
return;
}
const path = (request.url || "/").split("?")[0];
const file = files.get(path);
if (!file) {
response.writeHead(404);
response.end("Not found");
return;
}
try {
const content = await readFile(new URL(file[0], import.meta.url));
response.writeHead(200, { "Content-Type": file[1] });
response.end(request.method === "HEAD" ? undefined : content);
} catch (error) {
console.error("Unable to read a website file:", error.message);
response.writeHead(500);
response.end("Unable to load this page");
}
}).listen(port, "0.0.0.0", () => {
console.log("Website listening on port " + port);
});npm start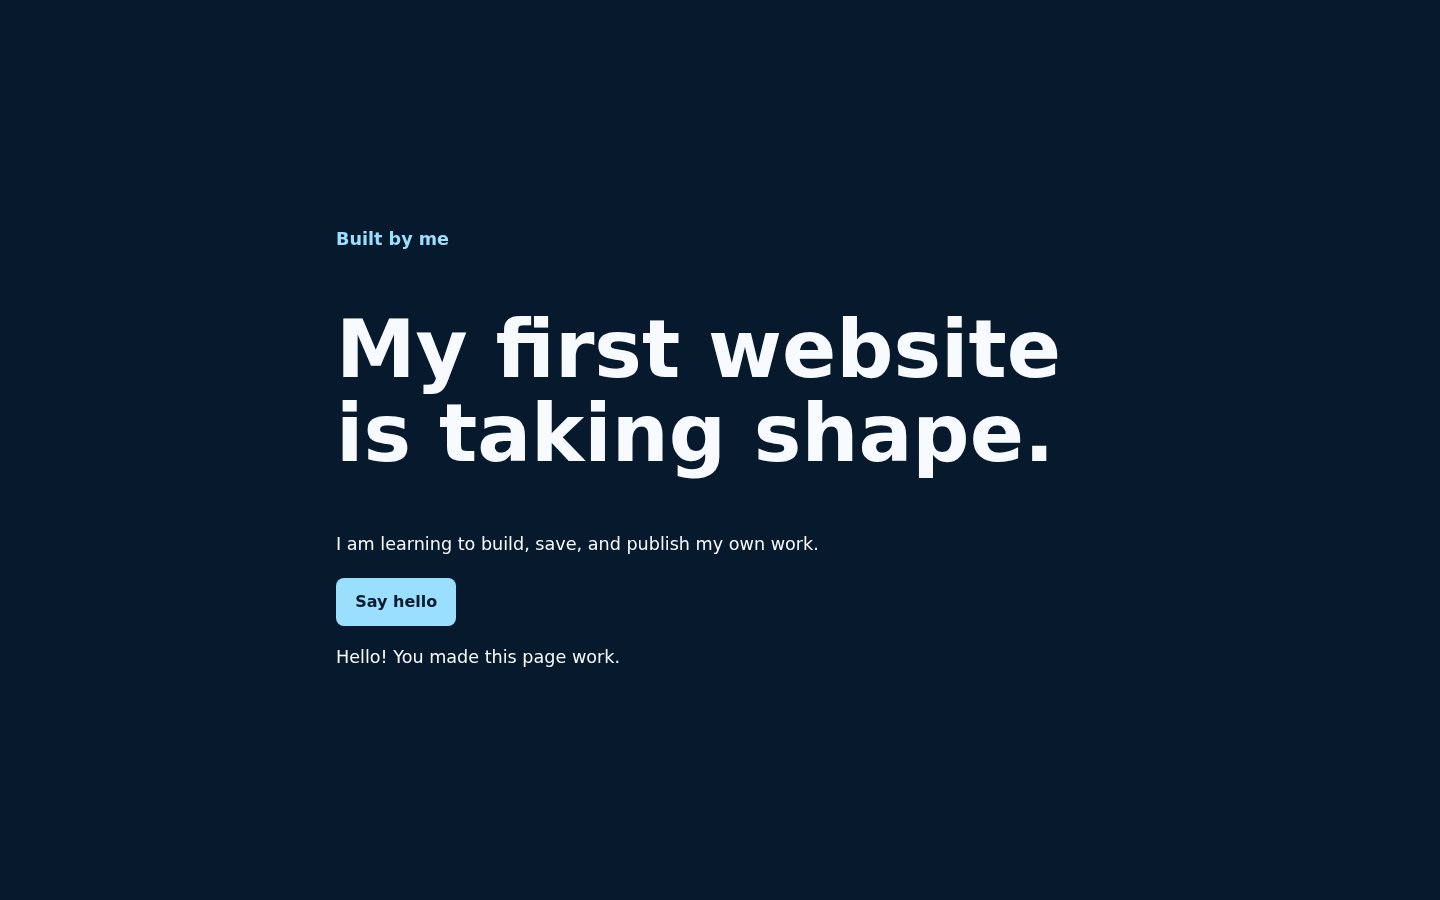
The browser shows the heading and styled button. Clicking Say hello displays Hello! You made this page work. The terminal stays running without an error.
8. Make your first Git checkpoint.
Create .gitignore with the example below before staging files. It excludes installed packages, environment files, and common local noise. This example does not need secrets, and your Codex login credentials do not belong in the project.
If Git has no author identity configured, set your name and email using the second block. Replace both example values. Use an email verified on GitHub, or copy your actual GitHub-provided noreply address from your account's email settings if you prefer to keep your personal address out of commits. These values identify commit authors; they are not account passwords.
The last block creates a new repository on main, shows its state, stages the six files, and saves a checkpoint. Run git init only in this new practice folder. Do not initialize inside an unrelated existing project. Before committing, check that the staged list contains your website files and no credentials.
node_modules/
.env
.env.*
!.env.example
.DS_Store
npm-debug.log*git config --global user.name "Your Name"
git config --global user.email "your-verified-email@example.com"git init -b main
git status
git add index.html styles.css script.js package.json server.mjs .gitignore
git diff --cached
git commit -m "Build my first website"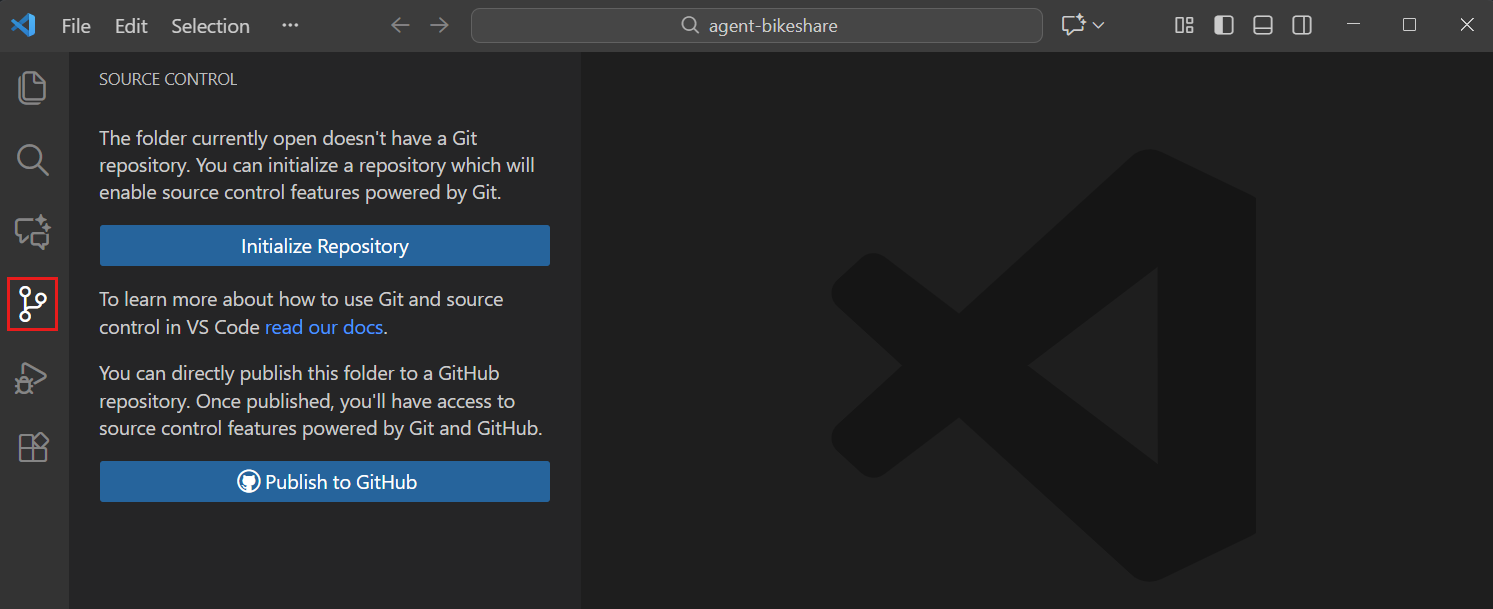
git status reports a clean working tree after the commit. That checkpoint is still local; GitHub does not have it yet.
9. Ask Codex for one small change.
Now that the working example is saved, use Codex to make one visible improvement. A specific request is easier to verify than asking for an entire app at once. Try the prompt below, then read the explanation and inspect the changed files in VS Code's Source Control view.
Reload your browser, use the button, and narrow the window to check the mobile layout. Use git diff to see the edits. If they match your request, stage the relevant files and make another commit. If something is unclear, ask Codex to explain the exact changed lines before continuing.
Change the heading to say 'I built my first website.' Keep the existing design and button behavior. Only change the file that needs it. Explain the changed line and tell me how to check the result. Do not commit, push, install packages, or deploy anything.git diff
git add index.html
git commit -m "Personalize my website heading"You can point to the line that changed, explain why it changed, and confirm that the button still works. Your browser heading now reads I built my first website.
10. Publish your repository to GitHub.
Open the Command Palette and run Publish to GitHub. Complete the browser sign-in when prompted, return to VS Code, and choose an available repository name such as first-website. A private repository is a useful default for this practice exercise; you can still authorize Railway to deploy it in the next lesson.
After publishing, open the repository on GitHub. Check that the branch is main and that your files and commits are present. From now on, saving and committing still happen locally. Use the Source Control menu's Push action when you want to upload later commits. Signing in to GitHub does not make every save upload automatically.
Railway will need permission to access this repository later. Keep the GitHub account and repository name handy. You have now completed the computer-to-GitHub part of the workflow without publishing a public website yet.
GitHub shows your six files and commit history on main. The next lesson starts from this exact repository.
If something does not work, check this first.
Keep the exact error message and the command that produced it. Read the first meaningful error rather than rerunning the same command repeatedly. You can ask Codex to explain that error with the relevant file open.
- Command not found: reopen the terminal after installing the tool; in WSL, confirm the tool is installed inside that environment.
- npm cannot find package.json: open a terminal in first-website and confirm that package.json is saved at its root.
- Address already in use: another process is using port 3000. Stop your own earlier practice server, or ask for help choosing another port; do not stop an unfamiliar process.
- The page is unstyled or the button does nothing: check exact filenames, save the files, and reload http://localhost:3000 rather than opening the HTML file directly.
- Codex is unavailable: confirm the official extension is enabled and your ChatGPT account or workspace has access. See the account documentation before changing authentication settings.
- A commit succeeds but GitHub is unchanged: commit is a local action. Publish the repository or push the commits from Source Control.
Official references
Use these pages for current platform details and updates to the interfaces shown in this guide.