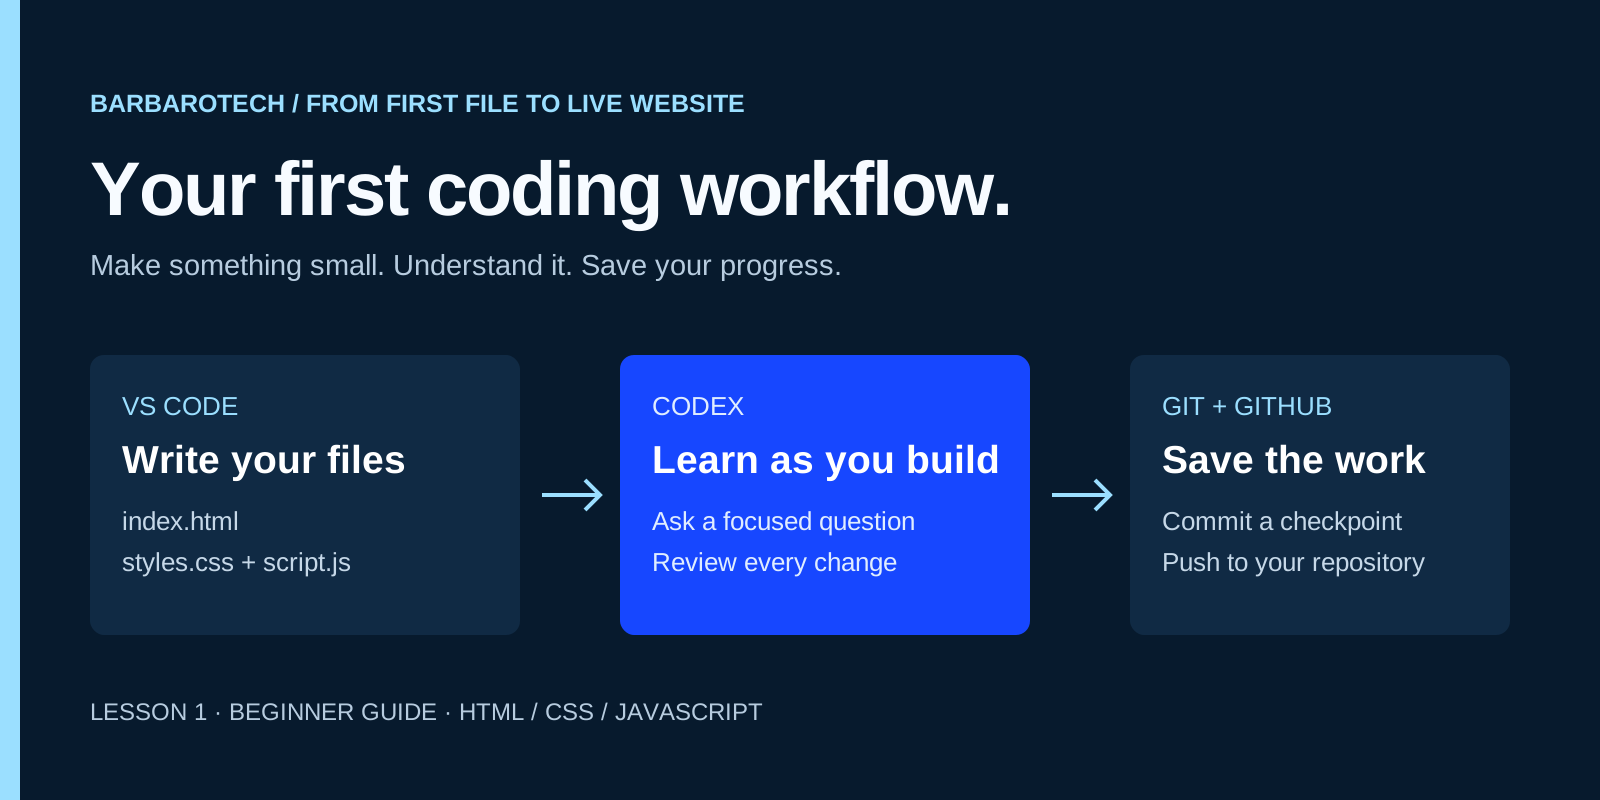
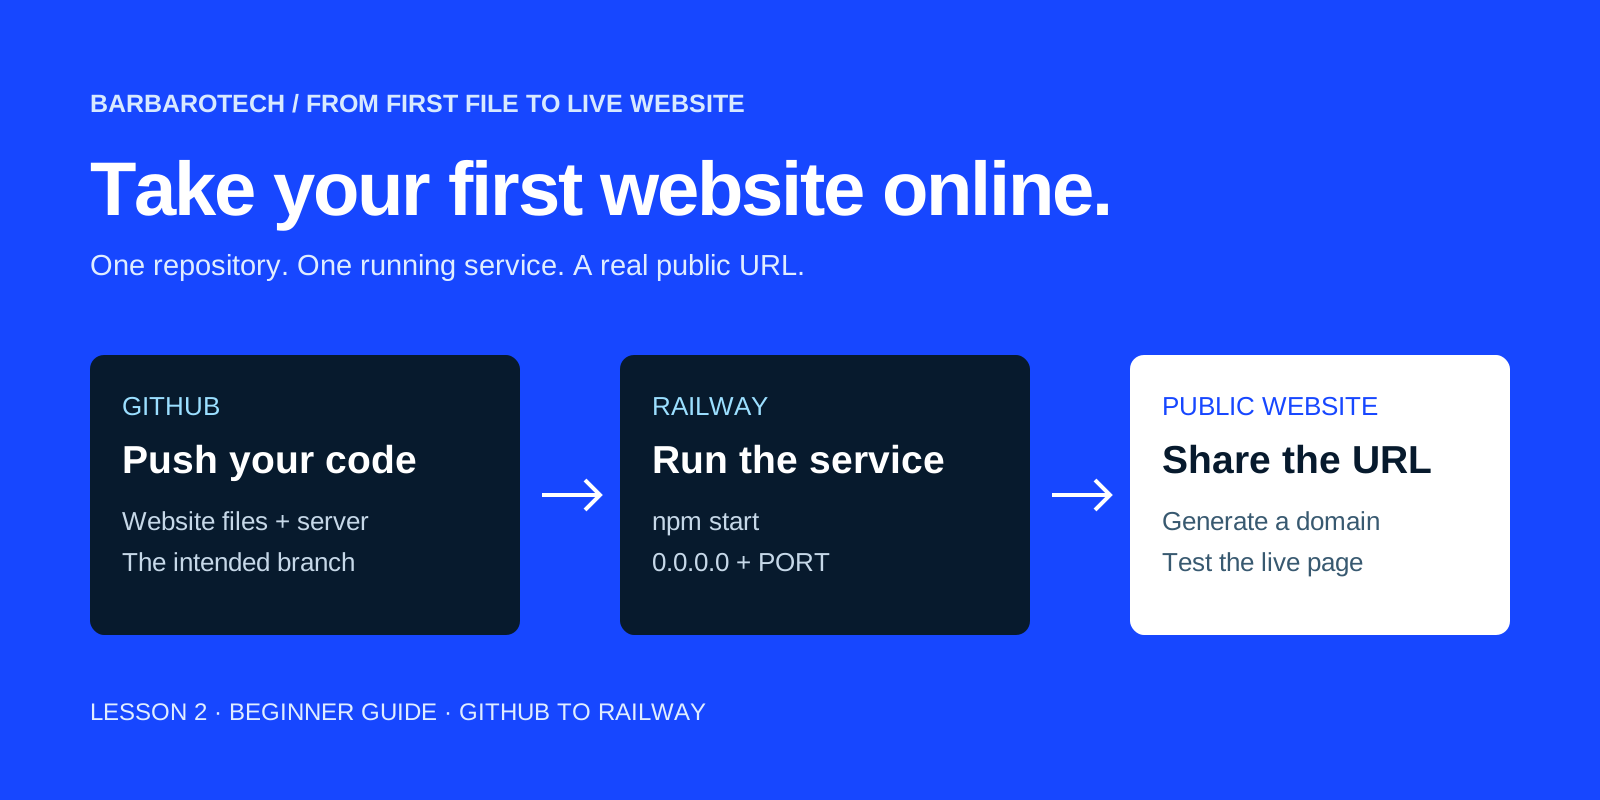
A website that works on localhost is still running on your computer. Railway can run the project elsewhere and give visitors a public URL. This lesson uses the same small HTML, CSS, JavaScript, and Node.js project from the setup guide, so you can follow one complete path from your first file to your first deployment.
Beginner · follows the setup lesson
What you will learn
- Deploy your own GitHub repository to a Railway service.
- Understand npm start, PORT, and the difference between a deployment and a public domain.
- Check the live website and publish a small follow-up change.
Before you start
- The first-website project from lesson one, working locally and pushed to GitHub.
- A Railway account with access to create a service and authorize your repository.
- A review of Railway's current plan, credits, and usage costs before starting a running service.
Instructions checked against the linked official documentation on October 30, 2026. Interface labels and account access can change.
1. Understand what you are deploying.
Your repository contains the website files plus a small Node server. Railway needs a process that stays running and responds to web requests. In this project that process is npm start, which runs server.mjs. There is no frontend compilation step or database to configure.
This is one intentionally small teaching example. It is not a universal deployment recipe for every framework. If you later use Next.js, Astro, or a client-side router, follow that framework's production build and serving instructions instead of assuming the same settings apply.
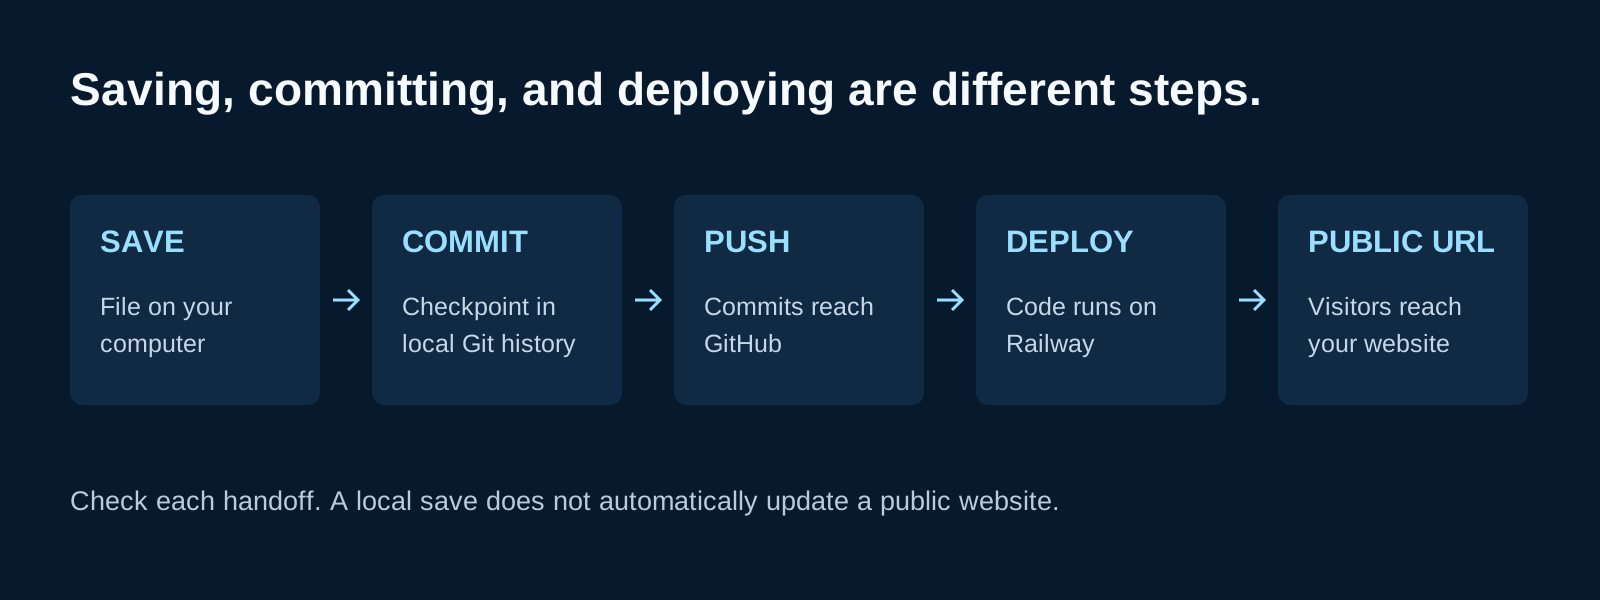
2. Check the files Railway will receive.
Open your GitHub repository in the browser, not just the local Explorer view. The root of the connected branch should contain index.html, styles.css, script.js, package.json, server.mjs, and .gitignore. A local file that has not been committed and pushed will not be available to a GitHub-triggered deployment.
The package.json below is the same one used in lesson one. Its engines field selects Node 24.x, and its start script launches the server. Railpack detects Node projects from package.json and can use that runtime declaration. If your application is inside a subfolder of a larger repository, select that folder as the service's root directory; this lesson keeps everything at the repository root.
{
  "name": "first-website",
  "version": "1.0.0",
  "private": true,
  "type": "module",
  "engines": { "node": "24.x" },
  "scripts": {
    "start": "node server.mjs"
  }
}git status
node --check server.mjs
node --check script.js
npm startThe repository in GitHub contains the current files, and the local site still loads at http://localhost:3000. Stop this local test with Ctrl+C when finished.
3. Keep the server's host and port settings.
Railway provides a PORT environment variable for the running application. The server from lesson one reads that value and binds to 0.0.0.0. A server bound only to localhost can work on your computer while being unreachable through a hosting platform's proxy.
The complete file is repeated below so you can compare it with your own server.mjs. The map of public paths allows only the website's HTML, CSS, and JavaScript. Adding a secret or configuration file to your project does not mean the server should expose it to visitors.
import { createServer } from "node:http";
import { readFile } from "node:fs/promises";

const files = new Map([
  ["/", ["index.html", "text/html; charset=utf-8"]],
  ["/index.html", ["index.html", "text/html; charset=utf-8"]],
  ["/styles.css", ["styles.css", "text/css; charset=utf-8"]],
  ["/script.js", ["script.js", "text/javascript; charset=utf-8"]],
]);
const port = Number(process.env.PORT || 3000);

createServer(async (request, response) => {
  if (request.method !== "GET" && request.method !== "HEAD") {
    response.writeHead(405, { Allow: "GET, HEAD" });
    response.end("Method not allowed");
    return;
  }
  const path = (request.url || "/").split("?")[0];
  const file = files.get(path);
  if (!file) {
    response.writeHead(404);
    response.end("Not found");
    return;
  }
  try {
    const content = await readFile(new URL(file[0], import.meta.url));
    response.writeHead(200, { "Content-Type": file[1] });
    response.end(request.method === "HEAD" ? undefined : content);
  } catch (error) {
    console.error("Unable to read a website file:", error.message);
    response.writeHead(500);
    response.end("Unable to load this page");
  }
}).listen(port, "0.0.0.0", () => {
  console.log("Website listening on port " + port);
});Confirm the server reads process.env.PORT and ends with .listen(port, "0.0.0.0", ...). No second server file is needed.
4. Create a Railway project from GitHub.
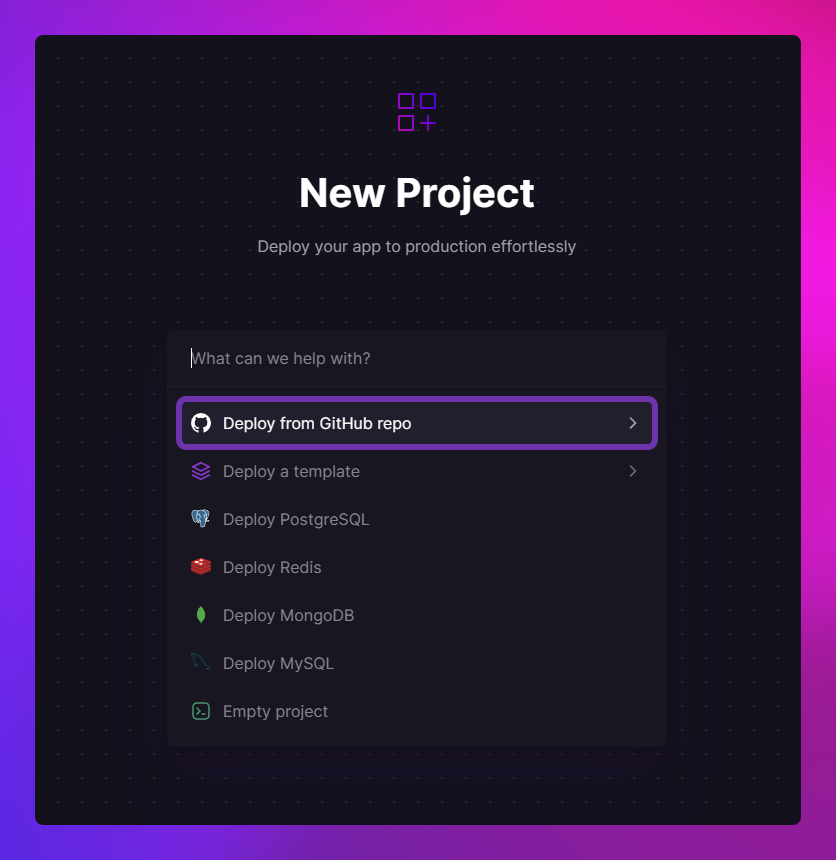
Sign in to Railway, open the dashboard, and start a new project using the GitHub repository option. If prompted, connect your GitHub account and authorize access to first-website. A private repository needs explicit access; it does not need to be made public to deploy.
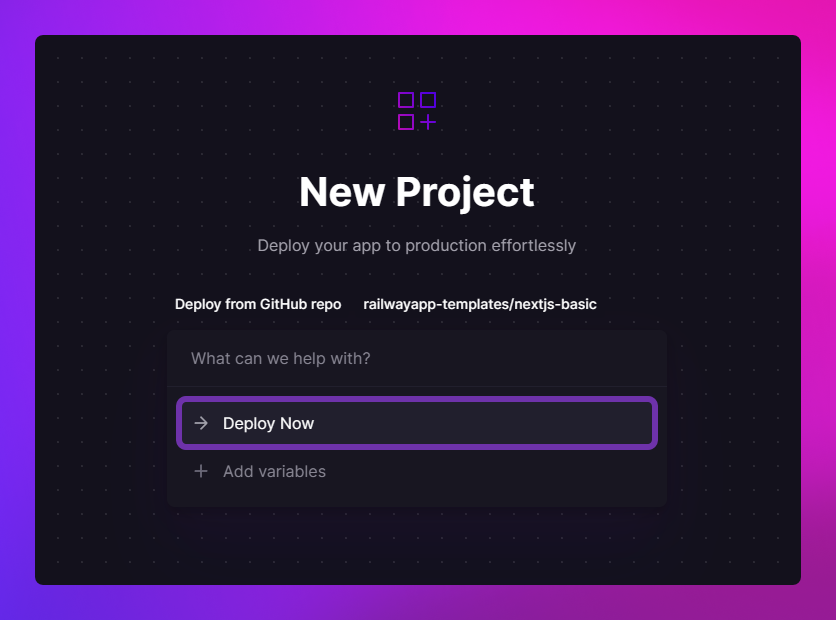
Choose your own repository from the list. The documentation screenshot below uses Railway's example repository, so its repository name will be different. If first-website is missing, check which GitHub account and organization you connected and the repository permissions granted to Railway.
5. Confirm the service settings and deploy.
Create the service from the repository and inspect its source settings. The connected branch should be main for this exercise, and the root directory should be the repository root. Leave the build settings on automatic detection for this plain Node example. There is no npm run build script in this project; do not invent one in the dashboard.
Railpack can use the package's start script. If you need an explicit start-command override, set it to npm start. Keep PORT supplied by Railway rather than hardcoding a production port. This example requires no additional variables, database, or external service.
The first deployment may start as soon as the repository is selected. That is expected. If you change settings afterward, apply the changes and deploy again before judging the result. The screenshot shows the deploy action in Railway's documented flow; use the corresponding action in your account.
The service points at your repository and intended branch. The start command resolves to npm start, which runs node server.mjs.
6. Read the result before opening the site.
Open the service's deployment details and inspect the build and runtime logs. A completed build means Railway prepared the application. A running service means the process started. Neither proves that every page or interaction works, so keep these checks separate.
In this example the runtime log should include Website listening on port followed by the assigned number. If the process exits, read the first relevant error and compare it with the exact commit being deployed. Do not paste access tokens or secret variable values into a public help request.
The deployment finishes without a build error, and the Node server remains running. The logged port matches the port the domain will target.
7. Generate your public website address.
Open the service's Settings, find Networking and Public Networking, and generate a Railway domain. If the domain configuration asks for a target port, use the port your server actually listens on. A domain pointing at a different port can produce an application-failed-to-respond error even when the process is running.
Open the exact generated HTTPS address in a separate browser tab. This is the public website; the Railway dashboard is its management interface. You can add a custom domain later, but use the generated address first so you can confirm the application works before introducing DNS changes.
The HTTPS address shows your page. Clicking Say hello displays the message. The stylesheet and script load, and reloading the page still works.
8. Make one change and follow it to production.
In VS Code, change the heading to something you can identify immediately, such as My first website is live. Save it, run the local server, and check the result. Then review, commit, and push that change using the commands below, or use VS Code's Source Control actions.
When GitHub autodeploy is enabled, a push to the connected branch starts another deployment. Watch for the new commit in Railway's deployment history, wait for it to finish successfully, and then reload the public URL. This is how you distinguish an unpushed local change from a deployment that has not finished yet.
git diff
git add index.html
git commit -m "Update my live website heading"
git push origin main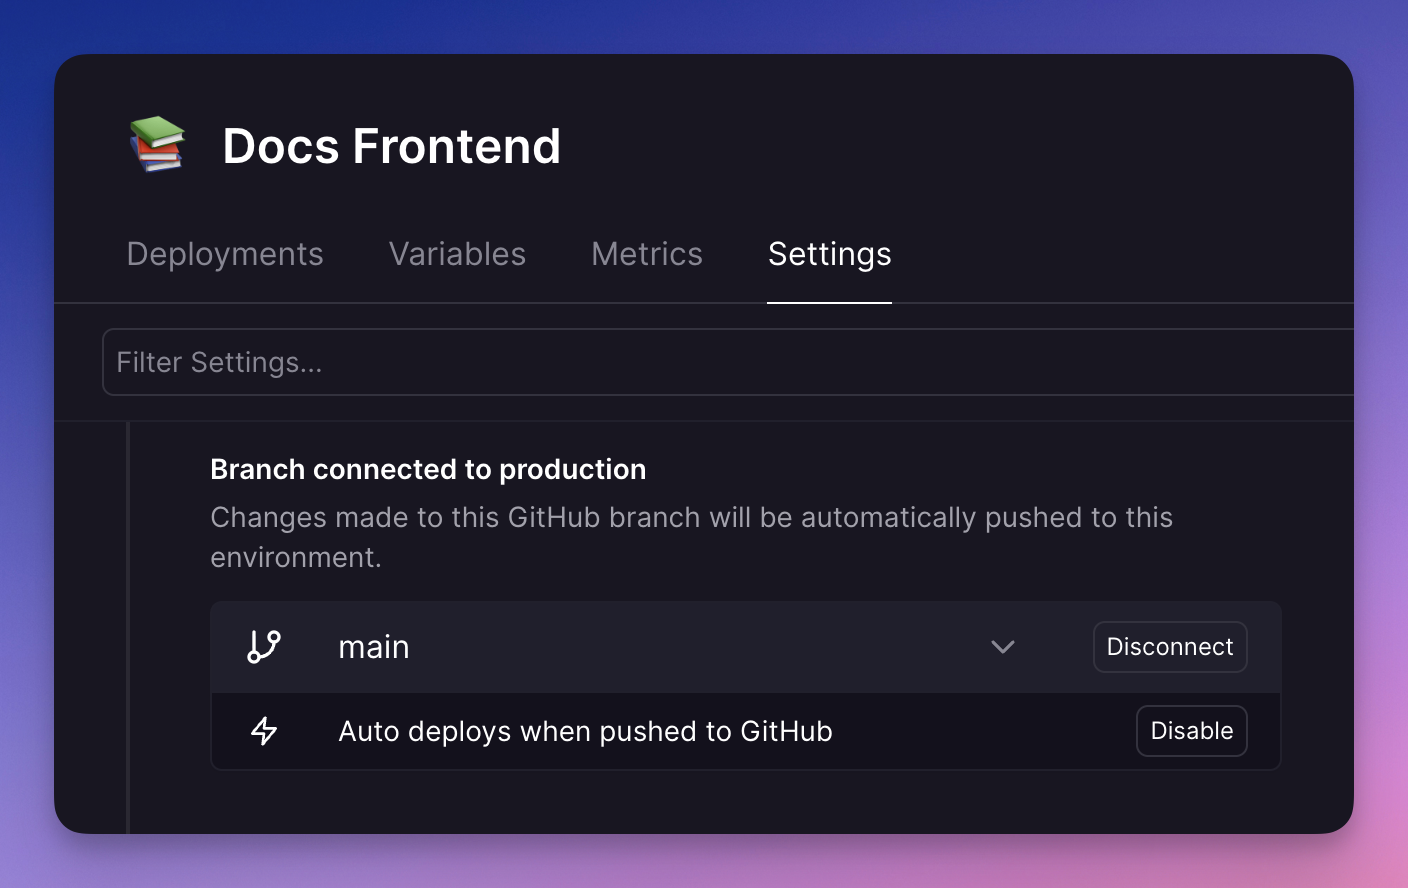
GitHub contains the new commit, Railway deployed that commit successfully, and the public page displays the new heading.
9. Know where configuration belongs.
The practice site needs no secret values. When a future server-backed project needs them, use the service's Variables area and read those values from the server environment. Railway stages variable changes, so review and deploy those changes before expecting the running service to use them.
Anything included in browser JavaScript is visible to visitors. An environment variable is not automatically secret if your build copies it into client code. Keep credentials out of your repository, screenshots, and public code examples. If a credential was published, remove it from use and rotate it; adding .gitignore afterward does not erase history.
Troubleshoot the specific stage that failed.
Start by identifying whether the failure happened before the build, during startup, or after the public URL opened. The remedy depends on that stage. Keep the deployment's commit ID and relevant error available when asking for help.
- Repository missing: check the GitHub account, repository access granted to Railway, and organization restrictions.
- package.json or server.mjs not found: check the service root and the files actually committed on the connected branch.
- Missing build script: this example has no build step. Remove an incorrect custom build-command override and use automatic detection.
- Process exits immediately: confirm npm start runs server.mjs and read the runtime error; do not use a development-only server as a production substitute.
- Application failed to respond: check 0.0.0.0, the injected PORT, and the domain's target port.
- HTML loads but CSS or JavaScript returns 404: compare the requested filename with the committed file and the server's explicit public-file map. Capitalization matters.
- A push does not deploy: confirm the connected branch, GitHub permissions, and whether autodeploy is enabled.
- The old heading remains: compare the pushed commit with the successful deployment before troubleshooting browser caching.
Your first deployment is the beginning.
You now have a repeatable path: change a file, test locally, review the diff, commit, push, and confirm the deployment. Keep each early change small enough that you can explain and check it. Add one feature at a time rather than replacing the working example with a large generated application.
Before treating a site as ready for real customers, add the content, accessibility review, error handling, and operational checks that its actual job requires. Review the service's usage and current plan while it runs. If the exercise is finished, manage or remove its Railway resources through the dashboard after confirming there is nothing you need to retain.
Official references
Use these pages for current platform details and updates to the interfaces shown in this guide.